10 Interior Painting Tips
June 8, 2018

Whether you’re adding a personal touch to a brand new home or refreshing your humble abode of many years, painting the interior of your home can be an exciting and satisfying project for any homeowner. For those who choose to tackle it themselves, a few key preparations and techniques can mean the difference between amateur mistakes and a professional finished project. Check out these tips to help you improve your interior painting skills:
Determine the Correct Sheen
Choosing a paint color for inside your home is only the first step. Once you know your preferred shade and tone, you will then need to determine the paint’s finish. Gloss, satin, eggshell, matte – the choice of finish can have just as much impact on a room as the color itself. If your walls are in high traffic areas that stand to be touched frequently or require routine cleanings, consider a gloss or satin finish. These clean much easier than other finishes, but it’s important to note they will show imperfections with no mercy. Patched repairs or wavy drywall areas will stick out like a sore thumb under satin or gloss finishes. On the other end of the spectrum, a flat finish is far more matte and will mask some imperfections, but cleaning this finish is a more tedious process. Consider the use of the room and let that drive your sheen.

Test with Samples First
We all have the best of intentions when buying paint for a room, but no matter how much planning goes into the shade, it all comes down to how it looks on the wall. Instead of dropping big bucks on gallons of a color only to find it looks absolutely awful in your room of choice, start out small with samples. They’re the happy medium between holding a paint chip up to the wall and realizing you just spent half your budget on a color you can’t stand in the light of day. Most home centers sell sample pints of paint for less, which will give you a good idea if you like a shade without investing in a gallon. Don’t just slap that sample paint on the wall, however. Get poster board and some white paper. Lay the white paper onto the wall. Then, paint two coats of your sample paint on the poster board. Once it’s dry, set the poster board on top of the white paper. That way, you aren’t comparing the old paint against the new, which can throw off the look. This test also allows you to see if the color “changes” at different times of day and types of light. If the color passes the poster board test, you can be far more confident you will like it on your walls.
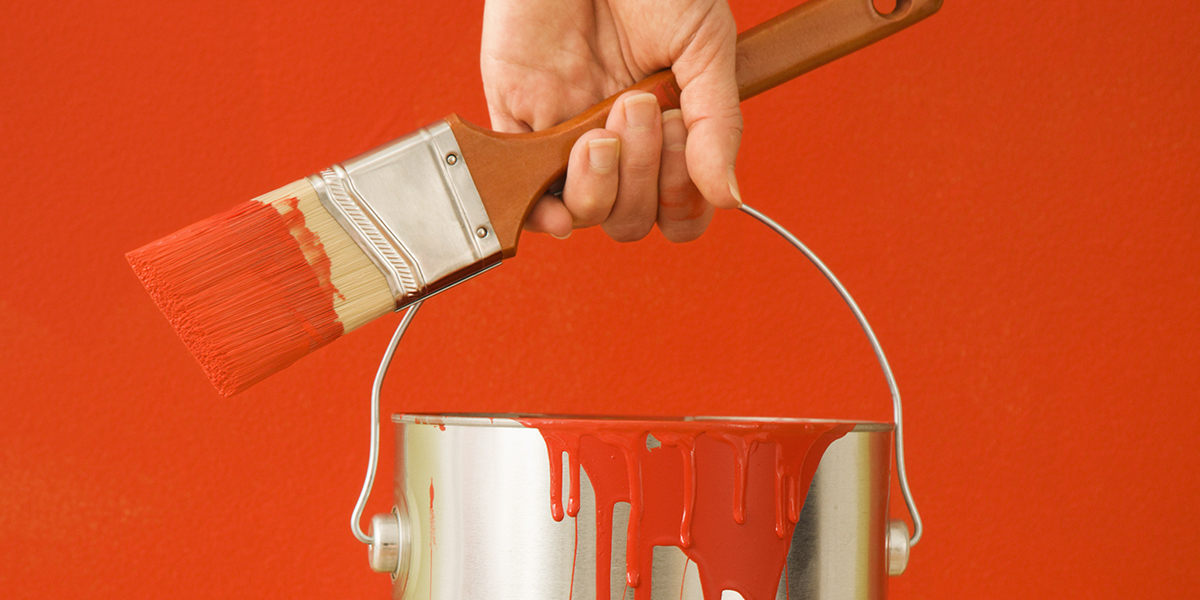
A few key preparations and techniques can mean the difference between amateur mistakes and a professional finished project.
Always Use a Primer
Another way to ensure you get the true shade of paint is to use a primer over your old paint. This is especially important if the old color is dark or has a heavy pigmentation. Primer not only covers colors and stains, but it also gives the new paint something to adhere to, which provides a smoother overall result. Trying to cover a particularly dark or stubborn color, or just making a drastic change? Use a tinted primer. Yes, it’s an extra step, but it will give you a much better end product. It can also help save money in the long run, as you will need less paint to cover the old paint.
Account for Multiple Coats
When totaling up your square footage and the amount of paint you will need to buy, consider the full project scope. Not only will you need enough to cover the walls, but you will most likely need to apply multiple coats for adequate coverage – even with a primer. The porosity of your walls can also play a big factor, as some walls soak up paint like a sponge. In addition, it’s always good to have a little extra left over for touchups and repair work in the future. It’s also better to buy a little more than you need now, because going back for another gallon mid-job runs the risk of minor color discrepancies between batches that are very noticeable. Make informed calculations, but buy a little more than you need.
Box Your Color
Even gallons of paint purchased at the same time have the opportunity to be slightly different. Though modern paint mixing techniques are far superior to what they were years ago, they aren’t perfect. The last place you find this out is when you’ve painted half the room, crack open the new gallon and realize it’s slightly warmer/cooler/darker/brighter. Avoid this possibility by boxing your paint. While at the home improvement center, pick up a 5-gallon bucket. Pour all your paint gallons into the single bucket and mix thoroughly. This way, you’re working from a single source of paint. Whatever you don’t use that day or at the end of the job can be poured back into one (or more) of the gallon containers for storage.
Use Cotton Drop Cloths
There’s a reason the pros use cotton or canvas drop cloths instead of plastic, and it’s not just because it’s a greener alternative. Canvas is thick and stays in place on carpet without being taped down. Hard floors, like vinyl, hardwood and tile, work best with rosin paper drop cloths for a nonslip surface. Plastic drop cloths are slippery, flimsy and don’t stay in place, no matter the flooring material. What’s worse, latex paint stays wet on plastic for some time, leaving ample opportunity for you to step in it and track it throughout your entire house. No material is a miracle worker, though, so wipe up any large spills before they seep through the canvas or rosin paper.
Paint in the Right Order
Rolling a swath of color across the center of the widest wall to kick off your painting project can be tempting, but resist the urge. Instead, paint the trim first, then the ceiling and finish with the walls. Taping off the trim is much faster and easier than taping off the walls, and it’s no harm, no foul if you get trim paint on the walls before you’ve painted them. Don’t focus on keeping paint off the walls; instead, focus on getting a smooth finish on the wood. If needed, sand the trim between paint layers for a slick finish. Finally, once the trim is complete, let the paint dry at least 24 hours before taping it off and painting the ceiling and walls.

Avoid Lap Marks
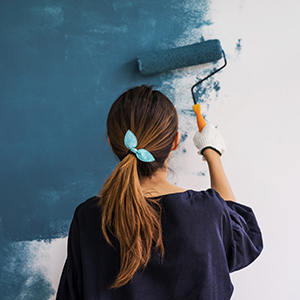
Uneven layers of paint buildup cause unsightly stripes, or lap marks, to appear on walls as you paint. These are the byproduct of wet paint overlapping paint that has already started to dry. Some conditions can be more forgiving than others, but warm, dry climates can cause paint to begin drying in less than one minute! To avoid lap marks, maintain a “wet edge” on your roller by overlapping your previous strokes. Start near a corner and run up and down the full height of the wall. Move over slightly with each stroke, being mindful to overlap edges. If runs or thick sections of paint appear, go back over them to thin out the paint and provide an even coat. Keep the roller wet by frequently reloading so that it is always at least half loaded with wet paint. Also make sure the open end of the roller faces the section you just painted. This helps prevent ridges of paint.
Painting your home can be one of the fastest and boldest ways of showing off your personal taste in your home, and truly making it your own.
Cut In & Roll
Detail work, like corners and along trim, should be done with a brush – but not by brush alone! Going over these areas with just a brush will leave a different texture than the roller and be quite noticeable. Instead, cut in with the brush and immediately go over that paint with a roller before the paint dries. 3-inch rollers are great for this purpose, so choose one with the same nap as the larger rollers you will use for the walls. This is detail work, so though you use a roller, be mindful to not get paint on the opposite wall or the trim.
Cut Trim Tape Loose
When the paint has finally dried, it’s time to take off the trim tape. As tempting as it may be to simply rip off the blue tape, don’t do it! The dry paint forms a film between the wall and the tape. Yanking the tape away from the wall has the potential to rip paint off the wall itself, ruining your hard work. Instead, cut through the film with a utility knife or box cutter before pulling it away from the wall. Make sure the paint has dried for at least 24 hours before cutting through it, and pull the tape at a 45-degree angle for the best results.
Painting your home can be one of the fastest and boldest ways of showing off your personal taste in your home, and truly making it your own. We know how much pride you take in your home, because we do the same! Each GCD home is built to last with an unmatched attention to detail and care. Dreaming of the day you’ll own your own GCD home? The wait is over! Contact our team, and we’ll happily walk you through the process. Visit https://shorelineparkcity.com/ for more information.