At-Home Craft Ideas for Kids
August 19, 2022
Moving into a new home is an exciting experience. But for those of us with children, it can add on unnecessary stress when settling into a new space. View our go-to at-home craft ideas for kids to keep them occupied so that you can knock out the chores, or take a much-needed break.
Animal Rock Zoo
Required Materials: Acrylic Paint, Paintbrushes, Paper Plates, Paper Towels, Cup of Water, Rocks
This craft is for the animal-lovers out there. Children will paint on a group of rocks to create their very own zoo of animals.
To set up the craft, begin by creating a paint-safe area to paint. If you do not have one, consider laying newspaper or paper bags in the workspace. After setting up the painting space, the fun part begins. Next, collect a few rocks (this may involve a short walk) that can be chosen based on size, shape, or flatness. This requires children to prioritize characteristics based on what they are painting. For example, a flatter rock may be better for a crab, while a long rock could work as a snake.
After collecting the rocks, we recommend giving them a quick rinse & dry if there is dirt buildup. If not, you are ready to start painting with your acrylic paint and paintbrushes. Once painting is complete, leave out to dry. These rocks can work as garden accessories, paperweights, or a collection that children can expand on in the future.
Build-a-Tree
Required Materials: Small Sticks, Multi-colored Cotton Balls, Liquid Glue, Construction Paper
This craft is for the children who desire structure in their crafts, with the opportunity to customize to their liking. Children will create and decorate a tree on a sheet of paper to create a no-maintenance plant.
To set up the craft, begin by collecting sticks outside. Long, skinny sticks that can be broken into smaller pieces are ideal for this. After collecting sticks, break and arrange as needed on a sheet of paper. These sticks will be glued onto the construction paper in the shape of a tree (just the trunk and branches, not the leaves). If sticks are unavailable, painting the trunk directly onto the paper works too.
After the base of the tree is set, it’s time to add some leaves. Using multi-colored cotton balls, arrange the cotton balls onto the “tree” and glue as needed – we recommend gluing directly onto the paper rather than the tree branch. If cotton balls are unavailable, small crumpled paper bits, buttons, or even leaves can be used. Once the craft is complete, you will be left with a colorful tree!
Origami
Required Materials: Construction Paper, Scissors, (optional) Coloring Utensils
This craft is for children who are looking to be challenged in their craft or to have full creative control. This craft can be supplemented with step-by step instructions shown below.
To set up the craft, all you need are paper and scissors. Depending on the origami method chosen, you might not even need the scissors. In this craft, children will create any animal, object, plant, or food that they can think of. We recommend supplementing this craft with step-by-step origami instructions, found here. This link provides hundreds of different step-by-step origami guides to create an animal or object that will suit any child. It also provides differing difficulties ranging from those who are brand new at origami to those who are more experienced. Origami can be a great way to challenge your brain too. For children who do not want to follow instructions, challenge them to create something of their own imagination – maybe a monster or bug. Feel free to provide coloring utensils to enhance their design.
Leaf Rubbing
Required Materials: Crayons, Paper, Leaves or Flowers, (optional) Tape
This craft is for the true nature-buffs. If your child likes playing by the river and collecting things outside, this craft is for them.
For this craft, it’s time to head outside. We will be collecting leaves to create leaf rubbings – which is a method to visualize the leaf “bones” on a sheet of paper. First, collect your leaves. We recommend to use leaves that are fresh, as brittle leaves may fall apart under the paper. Prioritize leaves with raised “lines” throughout them to create exciting images on paper. After collecting your leaves, have the child strategically place them under the paper. For extra sturdiness, feel free to gently tape the leaves to the bottom of a paper so that they do not move when they are being colored over.
Next, the fun part begins. Grab a favorite color of crayon to color the papers. Hold the crayon at a hard angle (completely horizontal works well too), rubbing back and forth over the leaves to create an outline of the leaf. For visual instructions on the rubbing technique, click here. The best part of this craft is the surprise that comes with seeing the leaf outlines on your paper since they are hidden underneath. At the end of this craft, children will have colorful leaf outlines to show off – and likely, they will be out hunting for more leaves before you can put away the crayons!
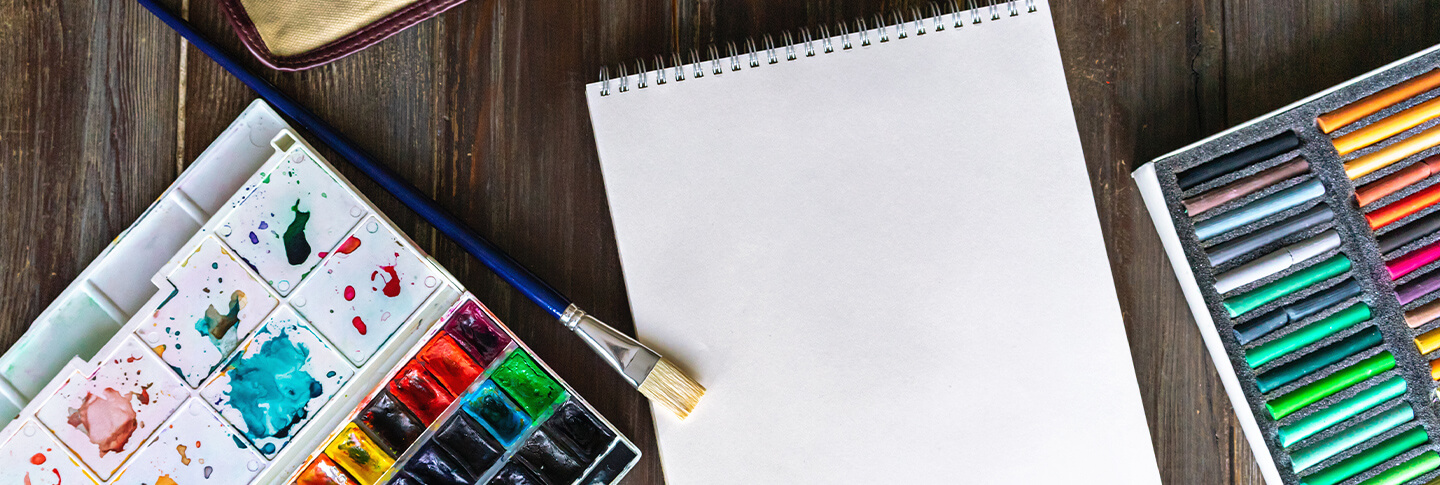
Watercolor Painting
Required Materials: Watercolor Paint, Cup of water, Construction Paper, Paintbrushes, (optional) Tape
This craft is for the true artists that love to watch their creative vision come to life. This craft can be structured or unstructured depending on children’s preferences.
Like the Animal Zoo craft, set up a paint-safe area to paint. After this, there are not many instructions. Set up paint and a water cup next to a sheet of paper and let children’s imagination take flight. For children that want a bit more direction, use coloring sheets of their favorite TV show, videogame, or book character and have them paint inside the lines. You can also give them a prompt to paint (a cow! a giraffe!) or paint alongside them to encourage their creativity. Whichever method chosen; this craft is a way to understand the different consistencies of paint that children can create. More water will create less vibrant colors and a softer look, while less water will create more vibrant colors and less bleeding outside the lines.
Sensory Bags
Required Materials: Hair gel, Medium Sealable Bags, Various Small Objects
This craft is for the children that love to look at art rather than create it. While there will be a degree of customization and creativity to set up, the bags will be primarily a sensory experience that can be fun for all ages.
The non-negotiables of this craft are sealable bags and hair gel to provide the base for your sensory bag. First, place hair gel into a sturdy, sealable bag. As a quick tip, we recommend keeping your bag outside in case of leaks. From here, have the child (with your supervision) collect small, gel-safe objects that will be placed in the gel. Although the selected pieces are entirely up to you, we recommend small objects with soft edges for the best results in the gel. Some ideas that we love are buttons, rubber animal figurines, and bouncy balls – but really any small object will do the trick for the sensory experience. If you are not afraid of messes, frozen blueberries can create a colorful experience in the gel as they begin to melt.
At Shoreline, we value the importance of family. Whether it’s your children, grandchildren, or your neighbor’s children, we know that quality is non-negotiable when looking at new homes. And we happen to think that we do a pretty great job.
Book a virtual tour to see for yourself at https://shorelineparkcity.com/.